3 min read
TAKE A BREAK
9 Quick Spooky DIY Projects to Make Tonight
Updated: 5/20/2026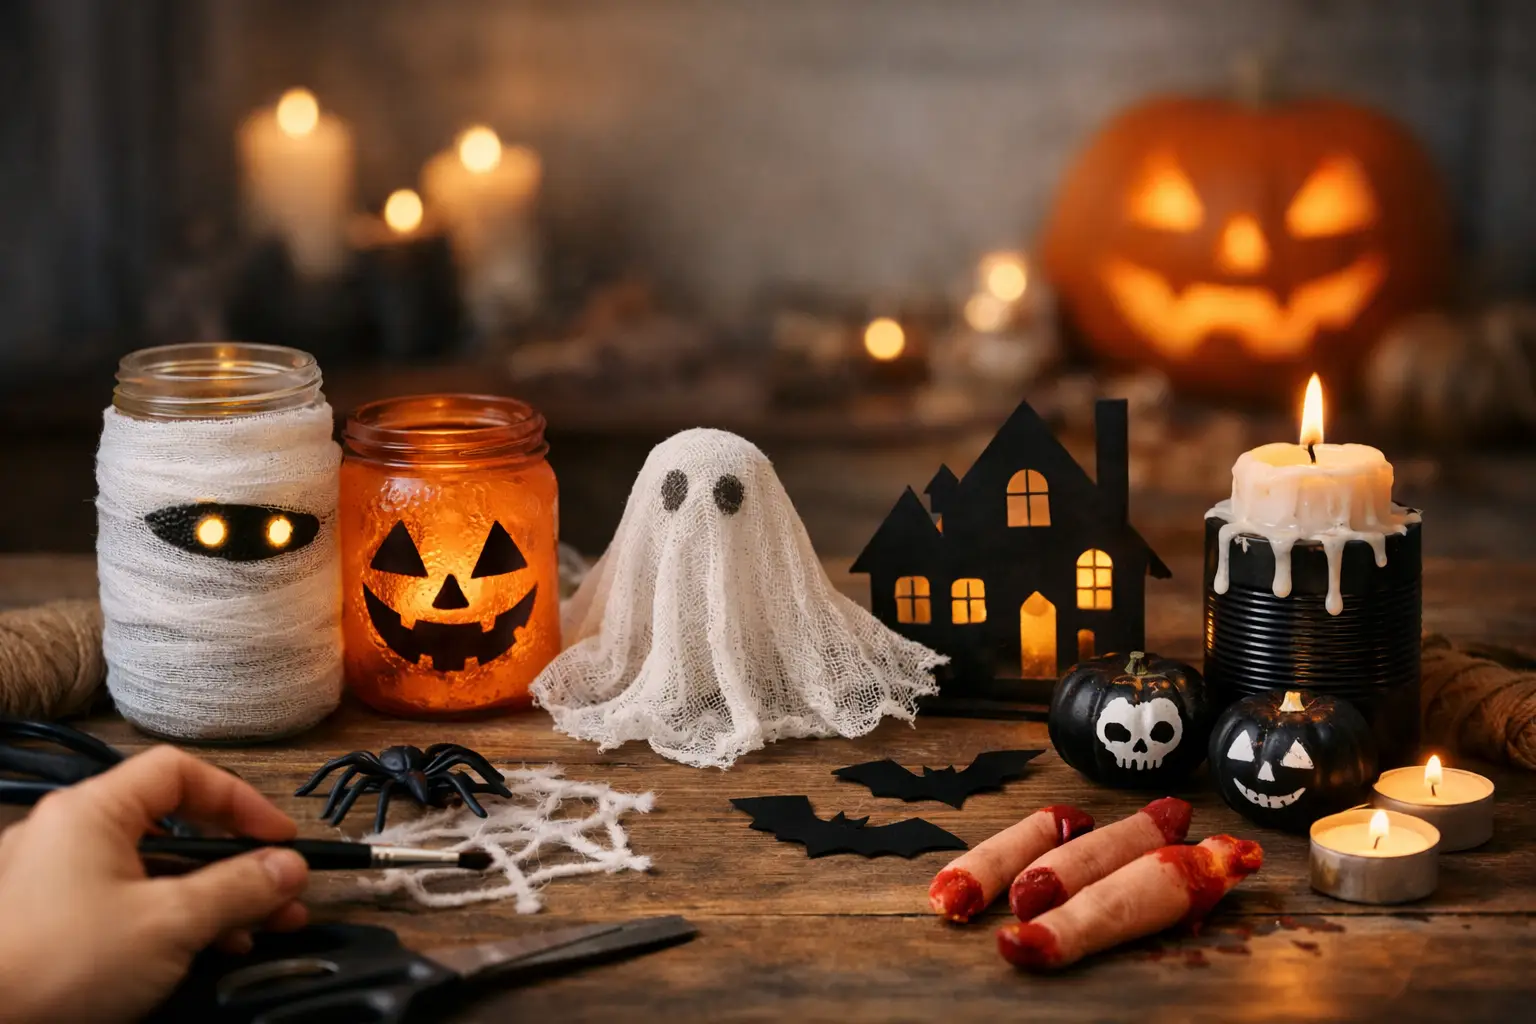
You know the moment. Halloween is suddenly close, your place looks aggressively normal, and you need something eerie on the table, wall, or front door before the evening is over. That is exactly where quick spooky diy projects win - they are cheap, easy to start, and dramatic enough to make it look like you planned ahead.
The best part is you do not need a craft room, a full Saturday, or expert-level patience. Most of these ideas use things already sitting around the house, plus a few dollar-store extras if you want to level them up. If your goal is maximum spooky with minimum effort, start here.
Why quick spooky DIY projects work so well
Fast Halloween crafts have one big advantage over ambitious builds - you are far more likely to actually finish them. A giant haunted-house centerpiece sounds great until it is 10:30 p.m. and you are hot-gluing your sleeve to a cardboard tombstone.
Quick projects also let you mix styles without overcommitting. You can go creepy, funny, vintage, kid-friendly, or a little goth without redesigning your whole space. That flexibility matters if you are decorating an apartment, setting up for a party, or just trying to make your entryway look less like every other Tuesday.
There is also the cost factor. Spooky decor gets expensive fast, especially when store-bought pieces look good for one season and then break in storage. Homemade pieces are usually cheaper, easier to customize, and less annoying to replace.
Quick spooky DIY projects for walls, tables, and doors
Cheesecloth ghosts
This one looks surprisingly good for how little effort it takes. You just need cheesecloth, a balloon or small foam ball, a bottle or cup for structure, and a glue mixture that will help the fabric stiffen as it dries.
Drape the cheesecloth over the round top, let it pool and wrinkle naturally, then give it time to dry. Once the inside support comes out, you get that floating ghost shape people usually assume took way longer than it did. Add tiny black felt or marker eyes if you want a classic ghost. Leave the face blank if you want it to look creepier.
The trade-off is drying time. Assembly is fast, but you do need some patience before moving it around. If you are decorating the same day, use a fan and keep the layers light.
Paper bat wall swarm
If you want a high-impact look with almost no budget, paper bats are hard to beat. Cut bat shapes in different sizes from black construction paper or cardstock, then tape them in a loose cluster so they look like they are flying across a wall or up a stairway.
The trick is not making them all identical. A few larger bats mixed with smaller ones looks more natural and more dramatic. Fold the wings slightly so they cast shadows. On a plain wall, the effect is instant.
This works especially well in rentals because it is lightweight and easy to remove. Just test your tape first. Some adhesives are more terrifying than the bats.
Mason jar lanterns
Glass jars are one of the easiest shortcuts to spooky lighting. Paint them black, orange, or frosted white, then cut out or paint on simple faces, silhouettes, or haunted-house shapes. Drop in battery tea lights and they are ready for a shelf, porch, or bathroom counter.
If you prefer a less playful look, skip the jack-o'-lantern faces and use gauze, twine, and a little gray paint to turn the jars into eerie mummy or apothecary decor. They are quick, but they do best in clusters. One jar looks cute. Three to five jars starts to feel like a vibe.
A low-effort haunted mirror
An old mirror becomes Halloween decor ridiculously fast. Smudge the edges with black or gray paint, tape a printed silhouette or creepy phrase behind the glass if the mirror frame allows it, or add fake cobwebs around the corners.
You can also lightly dust the surface with washable makeup or diluted paint for a foggy effect. The key is restraint. Too much and it looks messy. A little haze and shadow makes it feel old and unsettling.
If you are using a mirror you actually like, go easy and stick to removable materials. Spooky should not turn into permanent regret.
Quick spooky DIY projects you can make from basic supplies
Toilet paper roll monsters
This is the classic use-what-you-have craft, but it still works. Empty toilet paper rolls can become tiny bats, monsters, mummies, or mini candle holders with some paint, paper, and googly eyes.
For a cleaner look, paint everything in a tight palette like black, white, silver, and muted orange. For a family project, let the chaos happen and lean into the weirdness. These are better as grouped accents than stand-alone decor, so think tray display, windowsill lineup, or table scatter.
The big upside is speed. The downside is that they can look a little elementary if you do not style them well. Keeping the colors limited helps a lot.
Ghost garland
A ghost garland is ideal when a room needs something overhead but you do not want to spend time on a centerpiece. Cut ghost shapes from white paper, coffee filters, or fabric scraps, draw on simple faces, and string them together with twine.
You can make it cute, creepy, or somewhere in the middle depending on the expressions and spacing. Hang it across a mantel, doorway, or snack table. If your space is already busy, keep it monochrome. If it feels plain, add black tassels or orange ribbon between the ghosts.
This project is fast enough to do while watching a show, which is really the gold standard for seasonal crafts.
Witch hat luminaries
Mini witch hats made from black paper and set over battery lights create a great silhouette, especially for evening setups. You can place them over jars, cups, or cone-shaped bases and line them on a console table or windowsill.
These work because the shape is instantly readable. Even without extra detail, everyone gets the Halloween reference. If you want more texture, add mesh ribbon, silver stars, or rough-cut paper bands. If you want a cleaner modern look, leave them plain and let the lighting do the work.
Fast spooky touches that look smarter than they are
Gauze-wrapped candles and bottles
Take plain bottles, jars, or flameless candles and wrap them loosely in gauze or cheesecloth. Add tiny black eyes, distressed labels, or a little dark paint around the edges and you have instant mummy decor or old potion-bottle energy.
This is one of those projects that feels more styled when repeated. One wrapped bottle is random. A small group of different heights looks deliberate. Put them on a tray with some plastic spiders or dried branches and the whole thing comes together.
It also scales well. You can make two pieces for a small apartment shelf or ten for a party table without changing the method.
Spooky silhouette windows
If you want your place to read Halloween from outside, window silhouettes are one of the fastest ways to get there. Cut shapes like cats, crows, haunted houses, hands, or trees from black paper and tape them to the inside of the glass.
At night, backlighting from your room makes them pop. During the day, they still add contrast and movement. This is especially useful if you do not have a yard or front porch to decorate.
The only thing to watch is clutter. Too many shapes in one window can look busy instead of spooky. A few bold silhouettes usually land better than a full horror collage.
Floating ghost balloons
White balloons, a black marker, and some lightweight fabric are all you need for this one. Inflate the balloons, draw simple ghost faces, and drape tulle or cheesecloth over them. If you attach clear string, they can hang from the ceiling or hover in a corner.
This is one of the quickest wins for parties because it fills vertical space fast. It is playful rather than scary, which is good if kids are around or if your Halloween style is more fun than full haunted basement.
The trade-off is longevity. Balloons are temporary by nature, so this is best for same-day decorating rather than something you want to leave up for two weeks.
How to make quick spooky DIY projects look less rushed
Even easy crafts look better when they share a color story. Black and white always works. Black, gray, and muted metallics feel moodier. Orange is fun, but too many bright shades can push things into classroom territory unless that is the look you want.
Lighting matters more than perfection. A slightly uneven ghost or rough paper edge looks way more intentional under dim light, candles, or soft string lights. Halloween is one of the few decorating moments where shadows do half the work for you.
It also helps to group items instead of scattering them. Three small decorations together feel styled. The same three spread around a room can look like leftovers. If you are short on time, create one strong zone rather than trying to decorate every surface.
And if a project starts taking too long, cut it. That is the whole point. Quick spooky DIY projects are supposed to be satisfying, not a test of character.
A good Halloween setup does not need to be elaborate. It just needs one or two details that make someone stop, smile, and say, okay, this place gets it. Pick the project that fits your space, use what you already have, and let a little weirdness do the rest.