3 min read
TAKE A BREAK
Guide to Home Composting That Actually Works
Updated: 5/22/2026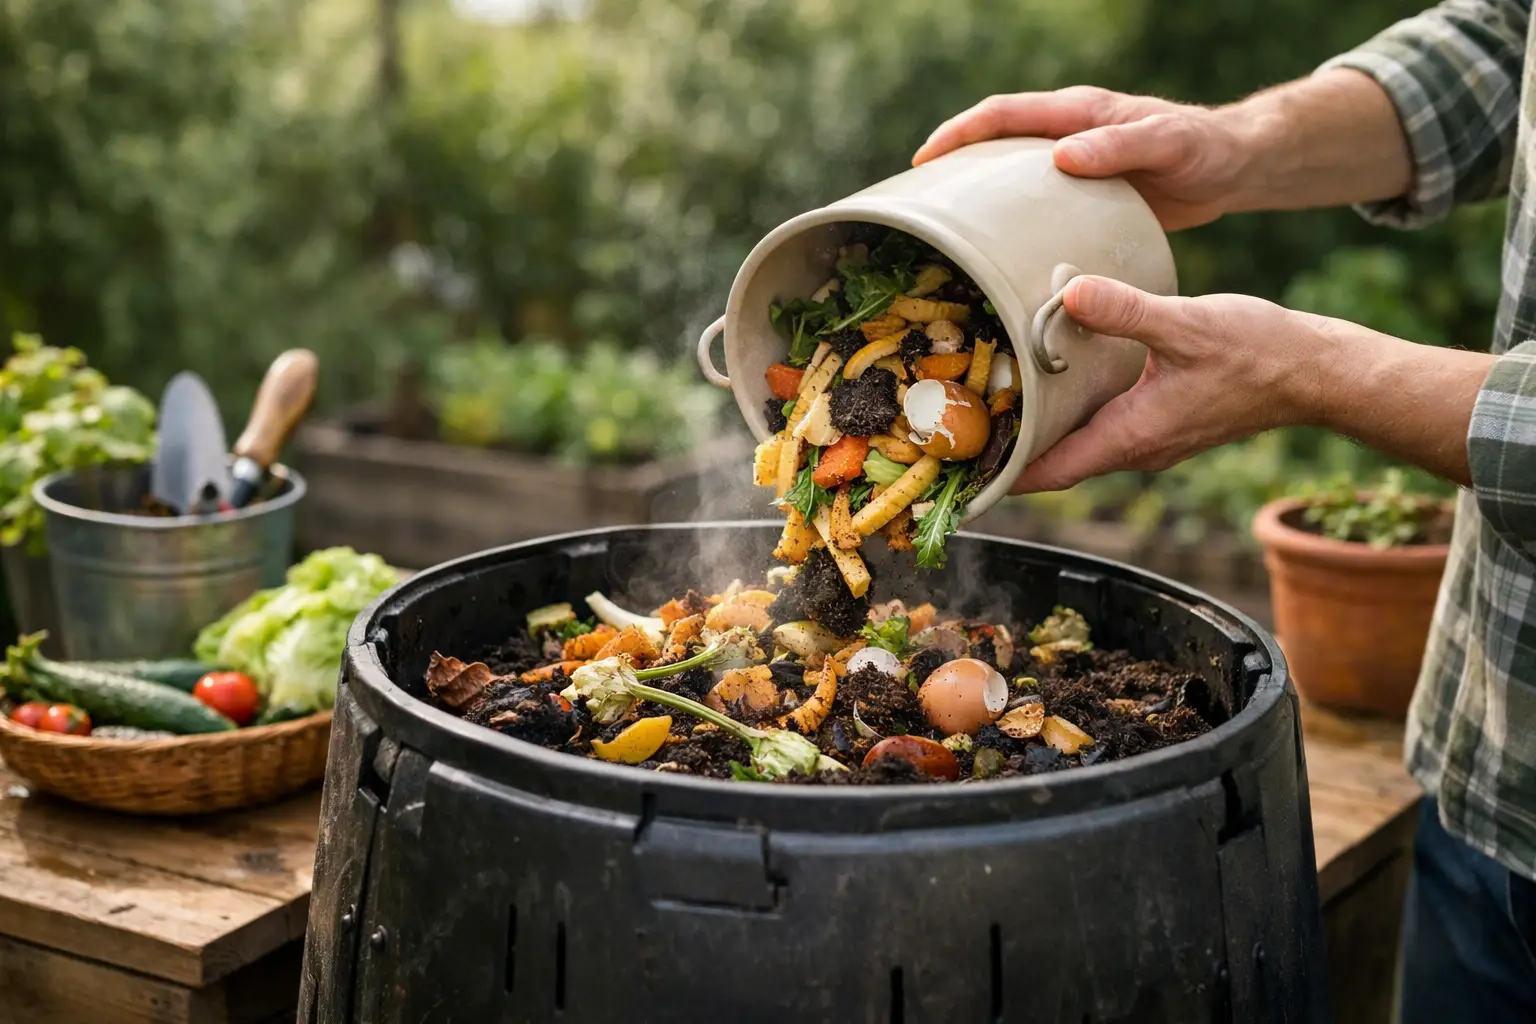
If your trash bag gets weirdly heavy after a few days, there’s a good chance food scraps are the reason. A good guide to home composting starts there - not with garden perfection, but with the very normal annoyance of throwing away coffee grounds, peels, and leftovers that could become something useful instead.
Composting at home is basically controlled rotting, which sounds bad until you realize nature has been doing it forever. You save waste from the landfill, cut down on odor in the kitchen trash, and end up with dark, crumbly material that helps soil hold water and nutrients better. The catch is that composting is easy once you know the rhythm, and frustrating when you don’t.
Guide to home composting: the quick version
Here’s the simplest way to think about it. Compost needs greens, browns, air, and moisture. Greens are wet, nitrogen-rich materials like fruit scraps, veggie peels, coffee grounds, and fresh grass clippings. Browns are dry, carbon-rich materials like dried leaves, cardboard, paper, and small twigs.
When those ingredients are layered in roughly the right balance, microbes get to work. Too many greens and the pile gets slimy and smelly. Too many browns and it just sits there looking the same for weeks. The sweet spot is usually more browns than greens, especially for beginners.
That’s the part a lot of people miss. Compost is less about buying the perfect bin and more about balancing what goes in.
Picking the right setup for your space
You do not need a big backyard and a farmhouse aesthetic to compost. The best setup depends on where you live, how much waste you make, and how hands-on you want to be.
If you have a yard, an open pile or basic compost bin is the easiest place to start. It gives you room to add leaves, yard waste, and kitchen scraps without overthinking it. A closed bin looks neater and can help with critters, but it may break down a little slower if airflow is limited.
If you want faster turning and less mess, a tumbler can work well. It’s convenient, especially for people who like systems, but it fills up fast and can be awkward if you produce a lot of yard waste. It’s also less forgiving if the mix gets too wet.
Apartment dwellers have options too. Countertop scrap collectors paired with a community drop-off program are one route. Worm composting is another. A worm bin sounds intense, but it’s surprisingly compact and low-odor when maintained well. It’s best for food scraps, not yard waste, and works better for people willing to learn a slightly different process.
What goes in and what stays out
Most kitchen composting success comes down to knowing what belongs in the pile. Fruit and vegetable scraps are easy wins. Coffee grounds and filters are usually fine. Tea leaves can go in too, though some tea bags contain plastic, so check before tossing them. Eggshells break down slowly, but they’re compostable if crushed.
On the brown side, shredded cardboard, paper towels without harsh chemicals, napkins, dry leaves, and plain paper are commonly safe. Smaller pieces break down faster, so tearing or shredding helps more than people think.
Some items are where it gets less universal. Meat, dairy, oily foods, and cooked leftovers can compost, but they tend to create smells and attract pests in basic home systems. For most people, especially beginners, leaving them out makes life easier. The same goes for pet waste, glossy paper, and anything treated with chemicals.
If you ever feel unsure, use a simple test: will this break down naturally without causing a bigger problem in a small bin? If the answer is maybe not, skip it.
How to start without making it complicated
Start with a layer of browns at the bottom of your bin or pile. That helps airflow and keeps wet scraps from compacting into a soggy mess. Then add your food scraps and cover them with more browns. Keep doing that as you collect material.
That cover layer matters. It cuts down odor, discourages flies, and helps the pile look less like an exposed garbage can. Think of browns as the buffer that keeps everything stable.
Your compost should feel like a wrung-out sponge. If it’s dripping wet, add more browns and mix it up. If it’s bone dry, add a little water and give it a turn. You don’t need to baby it every day, but checking in once or twice a week keeps small problems from turning into gross ones.
Turning helps because compost microbes need oxygen. In an open pile, that might mean using a pitchfork or shovel every week or two. In a tumbler, a few spins can do the job. If you never turn it, compost can still happen, just more slowly.
The guide to home composting problems everyone hits
The most common compost issue is smell. Healthy compost should smell earthy, not rotten. If your pile stinks, it usually has too many greens, too much water, or not enough airflow. Add shredded cardboard, dry leaves, or paper, then mix it well. That often fixes the problem fast.
If the pile isn’t breaking down, the opposite may be true. It could be too dry, too brown-heavy, or too cold. Add more greens, moisten it lightly, and chop larger scraps into smaller pieces. Compost is part chemistry, part patience.
Pests are another common headache. Rats, raccoons, and flies usually show up when food is exposed or the wrong foods are added. Bury scraps in the center of the pile, cover fresh additions with browns, and skip meat and dairy if you’re using a simple backyard setup.
Then there’s the issue of expectations. A lot of people think compost should turn into perfect black soil in a month. Sometimes it does move quickly, especially in warm weather with a well-balanced mix. Often, though, it takes a few months. In colder climates, it can take longer. That doesn’t mean you’re failing.
When is compost actually ready?
Finished compost looks dark and crumbly, with an earthy smell and very few recognizable scraps left. A few stubborn bits like avocado skins, twigs, or eggshell fragments are normal. You can sift those out and toss them back into the next batch.
If the pile still feels hot in the middle, it’s probably still actively breaking down. If it has cooled and the texture is mostly even, it’s likely ready to use. Compost doesn’t have to be visually perfect to be useful.
Use it by mixing it into garden beds, top-dressing around plants, or blending a little into potting mixes. It’s not a magic fix for bad soil, but it improves structure over time and helps plants deal with dry spells better. That long-game benefit is one reason gardeners stick with it.
Composting habits that make life easier
A small kitchen scrap container helps more than any fancy tool. If it’s easy to collect peels and grounds while cooking, you’ll keep doing it. If composting requires a mini expedition every time you cut an onion, the habit tends to die fast.
Keeping a stash of browns nearby is another underrated move. A bag of shredded cardboard, dry leaves, or torn paper next to the bin makes it easy to cover fresh scraps right away. That one habit prevents a lot of common mistakes.
It also helps to accept that your system may change. Summer composting is not the same as winter composting. A household that cooks every night will generate different scraps than one that mostly orders takeout. The best setup is the one you’ll actually use consistently, not the most impressive one on paper.
Home composting has a slight learning curve, but it’s one of the rare DIY habits that pays off in less trash, healthier soil, and a small but real reduction in waste. Start simple, expect a few trial-and-error moments, and let the process get a little messy. If your banana peels stop heading to the landfill, you’re already doing better than you were last week.