3 min read
TAKE A BREAK
How to Season Cast Iron the Right Way
Updated: 6/22/2026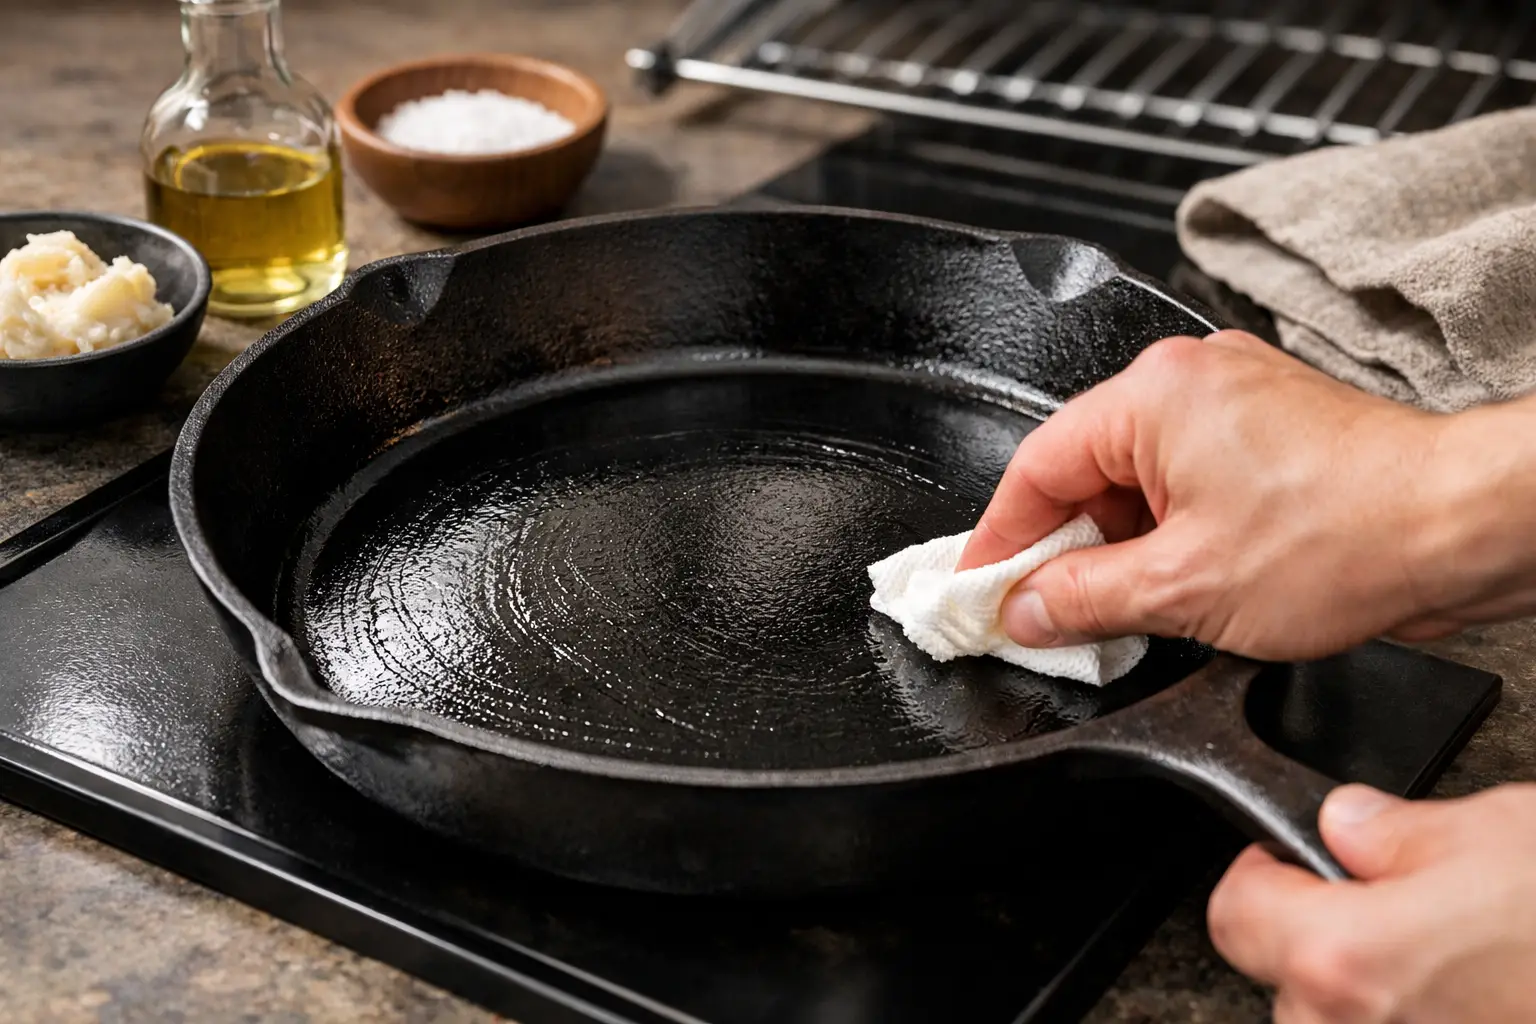
A cast iron pan can go from rusty thrift-store find to favorite kitchen tool with one simple move: seasoning. If you've been wondering how to season cast iron without ending up with a sticky, smoky mess, the good news is that the process is easier than the internet makes it sound.
Seasoning is just oil baked onto the surface until it bonds to the metal. That thin layer helps protect the pan from rust and gives you the slicker, darker finish people love. It is not magic, and it does not require a dozen specialty products. You need a clean pan, a very small amount of oil, and enough heat to do the job properly.
What seasoning actually does
When people talk about seasoning cast iron, they are not talking about salt, pepper, or flavor. They mean a hardened layer of oil that forms when fat is heated past a certain point and starts to polymerize. That sounds technical, but the result is practical: the pan gets some protection from moisture and becomes easier to cook on.
A freshly seasoned skillet will not feel like a brand-new nonstick pan, and that expectation trips people up. Seasoning builds over time. One oven session gives you a solid starting layer. Regular cooking, especially with oil and fat, helps improve it.
How to season cast iron step by step
The best method for most home cooks is the oven method. It coats the whole pan more evenly than doing it only on the stovetop, especially if you are working with a new skillet, a stripped pan, or one with rust.
Step 1: Wash and dry the pan well
Yes, wash it. If the pan is new, dusty, rusty, or has old residue, start with warm water and a little dish soap. Soap is fine here, especially before seasoning. If there is rust or flaky buildup, scrub it off with steel wool or a stiff scrubber until the surface feels clean.
Dry the pan completely. Then set it on the stove over low heat or in a warm oven for a few minutes to drive off any leftover moisture. Water is the enemy at this stage.
Step 2: Rub on a very thin layer of oil
This is where most seasoning jobs go sideways. People use too much oil. The pan should look barely coated, not greasy.
Rub a small amount of oil over the entire pan - inside, outside, handle, and even the bottom. Then take a clean cloth or paper towel and wipe it off like you are trying to remove it. If the surface looks shiny or wet, keep wiping. What you want left behind is a whisper-thin layer.
Step 3: Bake it upside down
Set your oven to 450 to 500 degrees Fahrenheit. Put a sheet of foil on the lower rack to catch drips, then place the pan upside down on the upper rack. Bake it for one hour.
Turning it upside down matters because excess oil can pool in the cooking surface and create sticky patches. After the hour is up, turn off the oven and let the pan cool inside. That slow cool-down helps the finish settle.
Step 4: Repeat if needed
One round is enough to start using the pan, but two or three rounds can help if the skillet was stripped down to bare metal or had rust problems. You do not need to do six rounds unless you enjoy oven projects.
The best oil for seasoning cast iron
There is a lot of debate here, but for most people the best oil is the one you already have that is neutral, affordable, and not too heavy. Grapeseed oil, canola oil, and vegetable oil all work well. Some people like avocado oil because it handles high heat, but it is usually pricier.
Flaxseed oil gets a lot of hype, but it can be hit or miss. Some cooks swear by it. Others find that it flakes over time. If you want reliable, low-drama seasoning, a basic neutral oil is usually the better call.
Animal fats like bacon grease or lard can help maintain a pan through regular cooking, but they are not always the best choice for a fresh oven seasoning because they can go on thicker and less evenly.
Common mistakes that ruin the finish
If your cast iron came out sticky, blotchy, or dull brown instead of black, there is usually a simple reason.
Too much oil is the big one. A thick coat does not create a better layer. It creates gummy spots that never fully harden. Not enough heat is another problem. If the oven temperature is too low, the oil may not polymerize the way you want.
Pulling the pan out too early can also leave the finish half-done. And if the pan was not fully dry before oil went on, trapped moisture can interfere with the surface.
The fix is usually easy: wash or scrub off the sticky spots, dry the pan, and season again with a much lighter coat.
How to season cast iron after cooking
Once your pan has a good base layer, maintenance gets simpler. You usually do not need a full oven re-seasoning after every meal.
After cooking, wash the pan with hot water and a brush or scrubber. For stuck bits, use coarse salt or a scraper. You can use a little dish soap if needed, especially for messy foods. Dry the pan right away, then place it over low heat for a minute or two.
If the surface looks dry, rub on a drop or two of oil and buff it until it barely shows. That is enough for everyday upkeep. Think of it like skin care for cookware - light, consistent maintenance beats occasional panic repair.
What to cook first in a newly seasoned pan
Your first few meals matter more than people think. Go with foods that are forgiving and use some fat. Cornbread, grilled cheese, roasted vegetables, and fried potatoes are all good early wins. They help continue the seasoning without stressing it.
What should wait? Acid-heavy dishes like tomato sauce can be rough on a fresh layer. Delicate foods like eggs may also stick at first, even in a seasoned pan, if the heat is off or the surface is still developing. Cast iron gets better with use, but there is a break-in period.
If your cast iron is rusty, don't toss it
Rust looks dramatic, but it is usually fixable. Surface rust can often be scrubbed away with steel wool, hot water, and a little soap. Once the rust is gone, dry the pan thoroughly and season it again.
If the rust is deep or widespread, you may need to strip the pan more aggressively and rebuild the seasoning from scratch. That sounds annoying, but cast iron is tough. One reason people love it is that you can bring it back from conditions that would finish off other cookware.
Do you need to avoid soap forever?
No. This is one of the oldest cast iron myths still hanging around.
Modern dish soap is not the same harsh lye soap that gave this advice its legs years ago. A small amount of soap is fine, especially if you are cleaning off greasy residue or old food. The bigger danger is soaking the pan, leaving it wet in the sink, or putting it in the dishwasher.
Use soap when needed. Just dry the pan well afterward and give it a light oil rub if the surface looks thirsty.
Stovetop vs oven seasoning
Stovetop seasoning has its place. It is handy for quick touch-ups and spot fixes. If one patch of the skillet looks dull, you can heat the pan, rub in a tiny bit of oil, and wipe it down.
But if you are doing a full reset, the oven method is more dependable. It reaches the whole pan, including the sides and exterior, and tends to create a more even base layer. For most home cooks, it is the easiest way to get consistent results.
When re-seasoning is actually worth it
Not every rough-looking pan needs a full re-seasoning project. If food is cooking fine and the surface is mostly dark and smooth, keep using it. Minor uneven color is normal. Cast iron often looks a little patchy between meals.
A full re-seasoning makes sense when the pan is rusty, sticky, flaking, or down to bare metal in large spots. Otherwise, regular cooking and light maintenance usually do more good than starting over.
A well-used cast iron pan is rarely perfect up close. That is part of the charm. The goal is not a showroom finish. The goal is a pan that cooks well, cleans up without drama, and gets better every time you use it. If you keep the oil light, the heat high, and the routine simple, your skillet will do the rest.