3 min read
TAKE A BREAK
How to Start Sourdough Starter at Home
Updated: 6/10/2026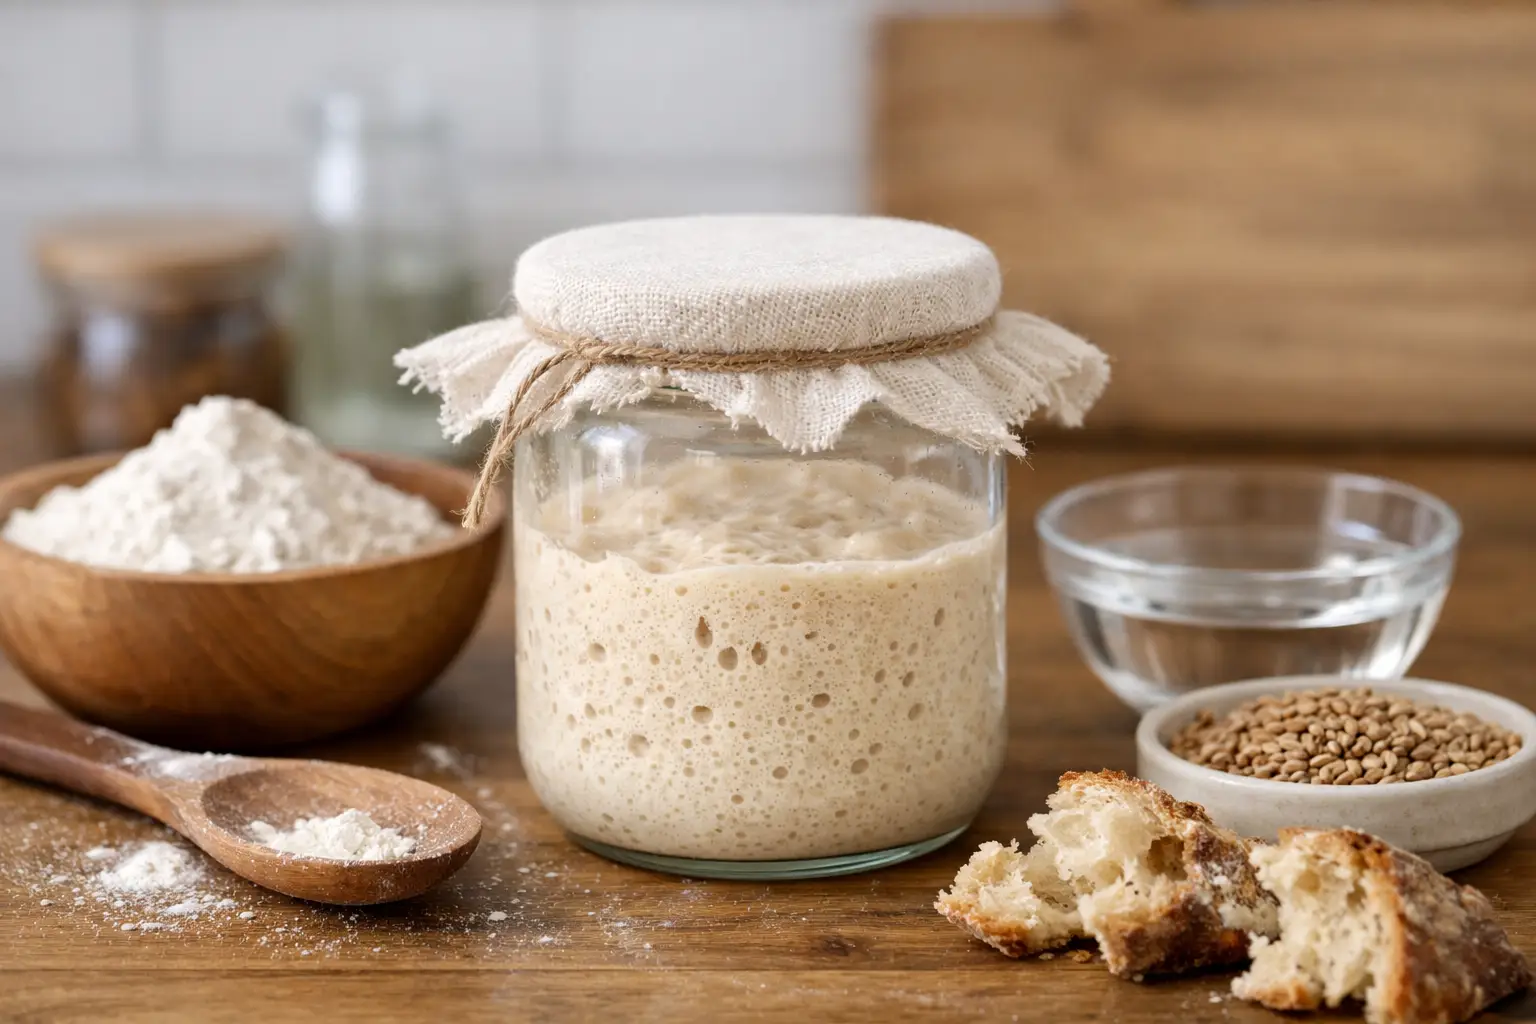
If you've ever stared at a loaf of sourdough and thought, I should try that someday, this is your someday. Learning how to start sourdough starter sounds more complicated than it is, but at its core you're just mixing flour and water, then giving wild yeast time to wake up.
The part that throws people off is not the ingredients. It's the waiting, the weird smells, and the moment on day three when your jar looks alive and then suddenly seems dead. That's normal. Sourdough starter has a personality, and the first lesson is patience.
How to start sourdough starter with just flour and water
You only need three things: flour, water, and a container. A kitchen scale helps a lot because sourdough is more consistent by weight than by cups, but you can still get started without one.
A wide-mouth glass jar works well because you can see the rise. For flour, many beginners get the fastest results with whole wheat or rye for the first few feedings, since those flours usually carry more of the natural microbes that make starter take off. All-purpose flour is fine too, especially after the culture gets going.
Use water that tastes good. If your tap water is heavily chlorinated, filtered water can help. Room temperature water is ideal. You don't need anything fancy, and you definitely don't need packaged yeast. A real sourdough starter is built from the wild yeast and bacteria already present in the flour and your environment.
What to mix on day one
Start with 60 grams whole wheat flour and 60 grams water in a clean jar. Stir until no dry bits remain. Scrape down the sides loosely, cover the jar with a lid set on top, or use a clean cloth secured with a band. You want airflow without leaving it fully exposed.
Set it somewhere warm but not hot. Around 70 to 75 degrees Fahrenheit is comfortable. If your kitchen runs cold, progress may be slower. If it's very warm, the starter may move faster but also get extra sour more quickly.
The day-by-day schedule beginners actually need
This is where sourdough gets less romantic and more routine. For the first week, you're looking for signs of fermentation, not perfection.
Day two
You may see a few bubbles, or nothing at all. Either result is fine. Discard about half the mixture, then feed the jar with 60 grams flour and 60 grams water. Stir well and return it to the same spot.
The discard step feels wasteful at first, but it matters. It keeps the starter from growing out of control and gives the developing microbes enough fresh food to stay balanced.
Days three and four
This is the stage that tricks a lot of people. Your starter may suddenly rise a lot, smell funky, and look very active. Then it may go quiet. That's not failure. Early activity often comes from bacteria that show up before the sourdough culture fully stabilizes.
Keep discarding half and feeding once a day. If the starter is rising and falling quickly and seems hungry, you can move to feeding twice a day. A healthy starter usually smells tangy, fruity, yeasty, or a little like yogurt. If it smells sharp or unpleasant for a day or two, that can still be part of the normal early phase.
Days five through seven
By now, you want more consistent signs: regular bubbles throughout the jar, a noticeable rise after feeding, and a smell that has shifted from strange to pleasantly sour. If you're using mostly white flour, this stage can take a bit longer. Whole grain flour tends to speed things up.
Once the starter reliably doubles in size within about 4 to 8 hours after feeding, it's close to ready for baking. That timing depends on room temperature, flour type, and how often you're feeding it, so treat it as a guideline, not a rule carved in stone.
What a healthy starter looks like
A good starter is active, not necessarily dramatic. It should rise after feeding, hold bubbles through the mixture, and then slowly fall back down as it uses up its food. That's the rhythm you're trying to build.
Texture matters too. It should feel like a thick batter or soft paste, depending on your flour. If it's runny, it may need a little less water or a stronger feeding schedule. If it's stiff, that's not automatically bad, but it may ferment differently and rise less visibly.
The smell can vary more than people expect. Mild sourness is common. Some starters smell like green apples, yogurt, beer, or ripe fruit. If you catch a nail-polish or acetone smell, the starter is usually hungry, not doomed. Feed it and check back later.
Common mistakes when learning how to start sourdough starter
The biggest mistake is giving up too early. Many starters need more than seven days, especially in cooler homes. If you stop on day five because it looks quiet, you may be quitting right before it gets strong.
Another common issue is changing too many variables at once. If you swap flour types, move the jar to a warmer room, and start feeding twice a day all at the same time, it's hard to know what actually helped. Make one change, then give it a day or two.
Using a tightly sealed lid can also create problems. Your starter doesn't need a dramatic amount of air, but it does need room to breathe a bit and release gas. On the other hand, leaving it completely uncovered can dry it out or invite contamination.
And yes, measurement matters. If your feedings are all over the place, the starter can become sluggish. A scale makes the process much easier because equal weights of flour and water are simple and repeatable.
When your starter looks weird
Sourdough starter goes through some ugly phases. A layer of liquid on top, often called hooch, means it's hungry. Stir it in or pour it off, then feed the starter. Grayish liquid is usually okay. Pink, orange, or fuzzy mold is not. If you see mold or unusual color streaks, toss it and start over.
If your starter never rises much, temperature is often the issue. A warmer spot can make a big difference. The type of flour matters too. Try using whole wheat or rye for a few feedings to give it a boost.
If it's bubbling but not doubling, that still counts as progress. The yeast may be there, but not strong enough yet. Keep feeding consistently. Sourdough rewards routine more than heroics.
How to know when it's ready to bake
A ready starter usually doubles or nearly doubles after feeding, has a pleasant tangy smell, and shows a web of bubbles when you stir it. It should feel lively. If your recipe calls for a fed starter, use it near its peak, when it's domed on top or just beginning to flatten.
The old float test gets mentioned a lot, but it's not the best judge on its own. Some perfectly good starters don't float, especially if they're made with whole grain flour or have been stirred recently. Rise, smell, and repeatable activity are more useful signs.
For your first loaf, keep expectations reasonable. Your starter can be ready enough to bake and still not produce bakery-level bread on day one. It gets stronger and more predictable over time.
How to keep it alive without turning it into a second job
Once your starter is established, daily counter feedings only make sense if you bake often. If you bake once a week or less, store it in the fridge. Feed it, let it sit at room temperature for an hour or two, then refrigerate it.
A refrigerated starter usually needs feeding about once a week to stay in good shape. Before baking, pull it out, feed it once or twice at room temperature, and wait for strong activity to return. That's often enough to bring it back into baking form.
There are trade-offs here. Counter storage means faster access and usually more active fermentation, but it demands more attention. Fridge storage is easier for busy schedules, though the starter may need a little time to wake up before a bake.
If all of this still sounds slightly chaotic, that's because it is. Sourdough is part recipe, part living thing, and part pattern recognition. But once you get through that first week, it stops feeling mysterious and starts feeling oddly satisfying. Keep the jar warm, keep the feedings steady, and let the microbes do their thing.